Since I have had many people from out of state requesting me to make a kit, I am putting vewlix #3 on hold for now. I started brainstorming and researching for ways to simplify the assembly process. Based on my research, I've combined predrilling with the Kreg jig and the Cam bolt which makes installation much faster. Also, I've used the CNC router to cut with precision and minimize errors.
Cam bolt and metal dowel
With that idea in mind, I started to incorporate the Cam bolt in the design.
Here is a picture of the bottom cabinet with the Cam bolt.
Vewlix Kit (bottom cabinet)
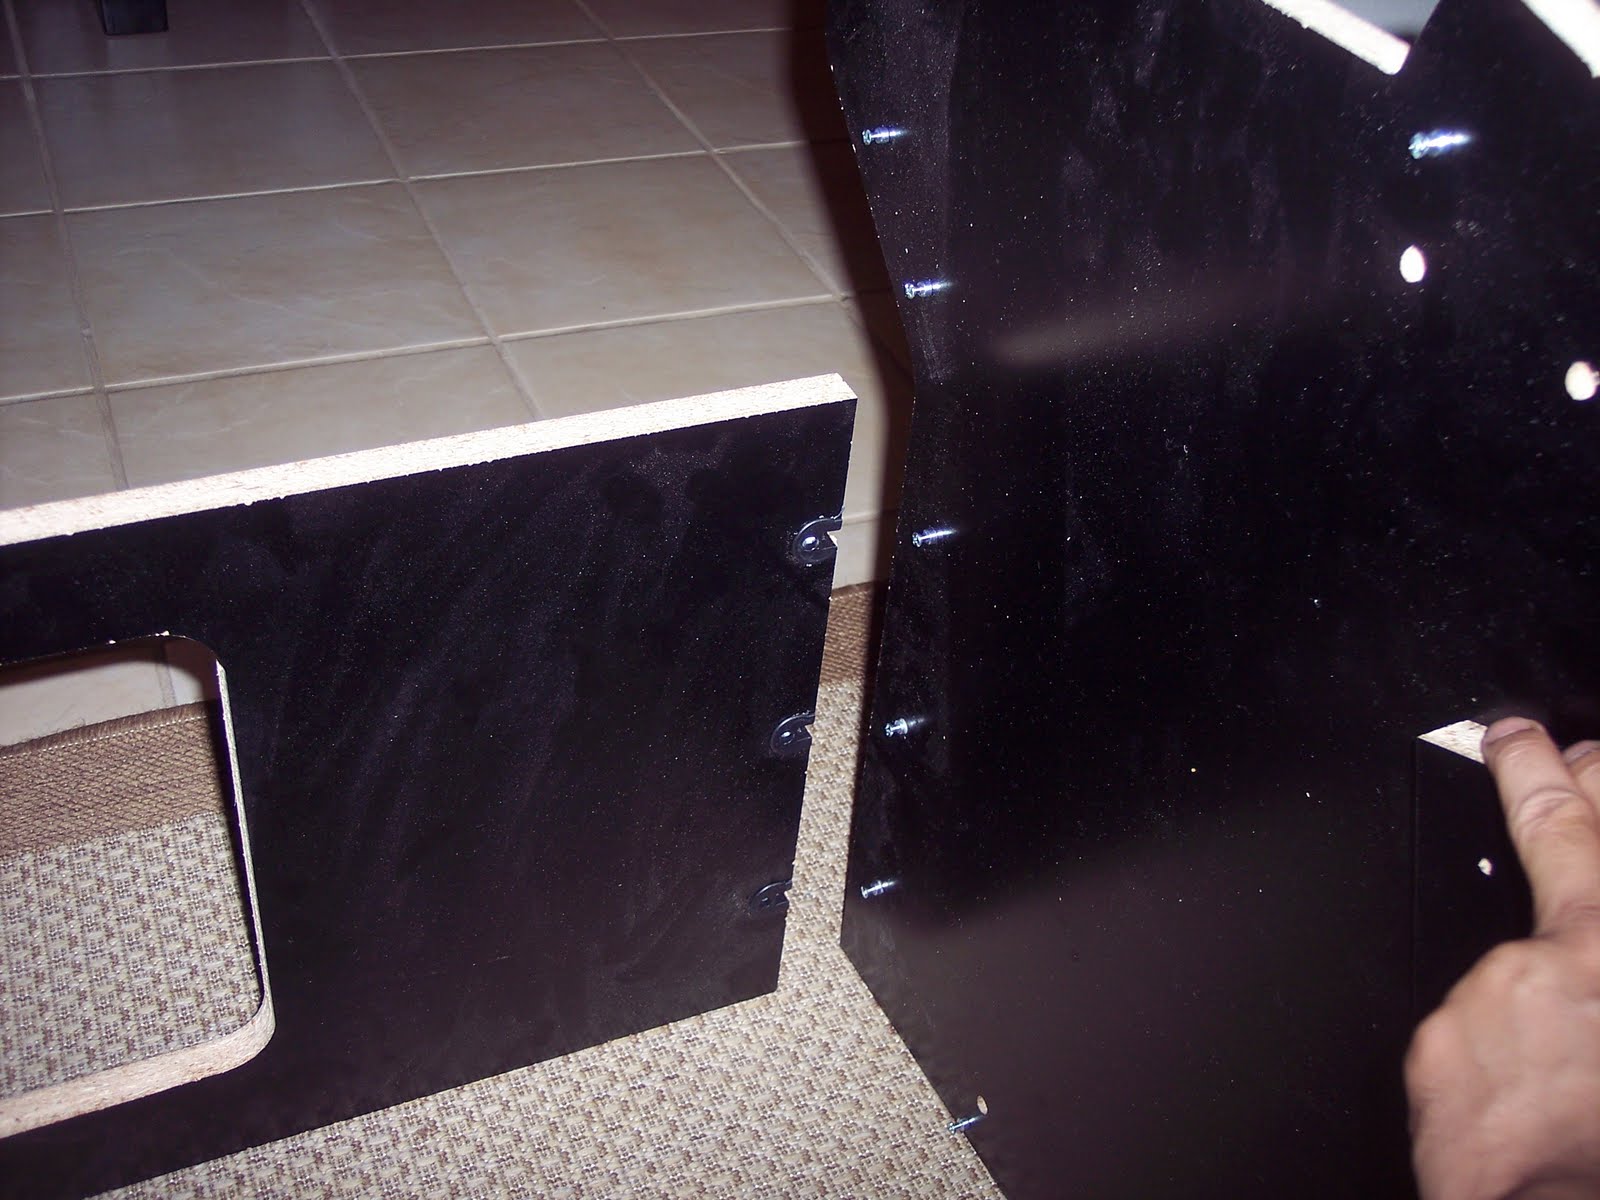
Vewlix Kit (Putting it together)
The cam bolt and dowel holes came out looking great, but the cam holes, on the other hand, came out a little too tight. I had to use a scrap piece and a hammer to gently bang it in.
Using a scrap piece to gently bang the cam into the hole.
All the cams are installed.
Screwing in the metal dowels
Vewlix Kit (Assembling the bottom cabinet)

Cutting the two sides, arch and control panel.
Gluing all the pieces together.
Gluing the Arch..
Assembling the arch..
Assembling the 2 player control panel together..
I used glue and screws..
The control panel layout is set up for the Sanwa joystick.
I built this one for a customer in Fort Worth, TX.....
This control panel is setup to uses the TE sticks.
Cabinet dimensions
The Kit is now ready for those of you who are out of state and would like to buy one.
I have two versions: one using the TE layout (TE sticks not included) and one using the custom two players control panel. This is an empty cabinet with no buttons, joystick, speaker ect......
The control panel will come fully assembled. All you have to do is bolt the bottom cabinet and screw in all the screws. You still have to sand it down to fill in the crack with spackling paste or bondo, and you also will have to spend a whole lot of time sanding and priming in preparation for painting.
TE version for $450.
Custom 2 player version for $475.
All the kit will be made out of MDF only.
Both version will accept most standard 32" LCD.
If your TV is bigger than these dimensions it won't fit 32x4x21.5
Estimate shipping for the kit is $200-$300 anywhere in the US.
Fully assembled and painted cabinet shipping is around $300-$400.
Please email me for actual cost.
At the moment I only accept paypal with a confirmed address only.
To puchase or be on a waitting list please go to website below:
http://www.kraylixarcade.com/